WordPress is a powerful and versatile tool for your online presence. It can look a little confusing when you’re first getting started, but it’s absolutely worth familiarizing yourself with it. Otherwise it’s like that annual gym membership you stopped using in February—such a waste of potential! Fret not, I will teach you how to use WordPress.
How to: WordPress Admin Login
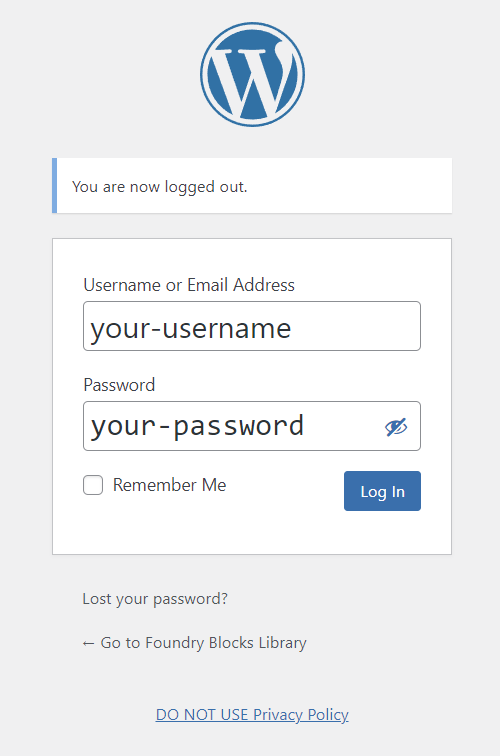
Logging into your WP environment
1. To access your WordPress account add
/wp-admin into your URL.

2. Then I would enter my details into the WP login screen. Type in the Username and Password.
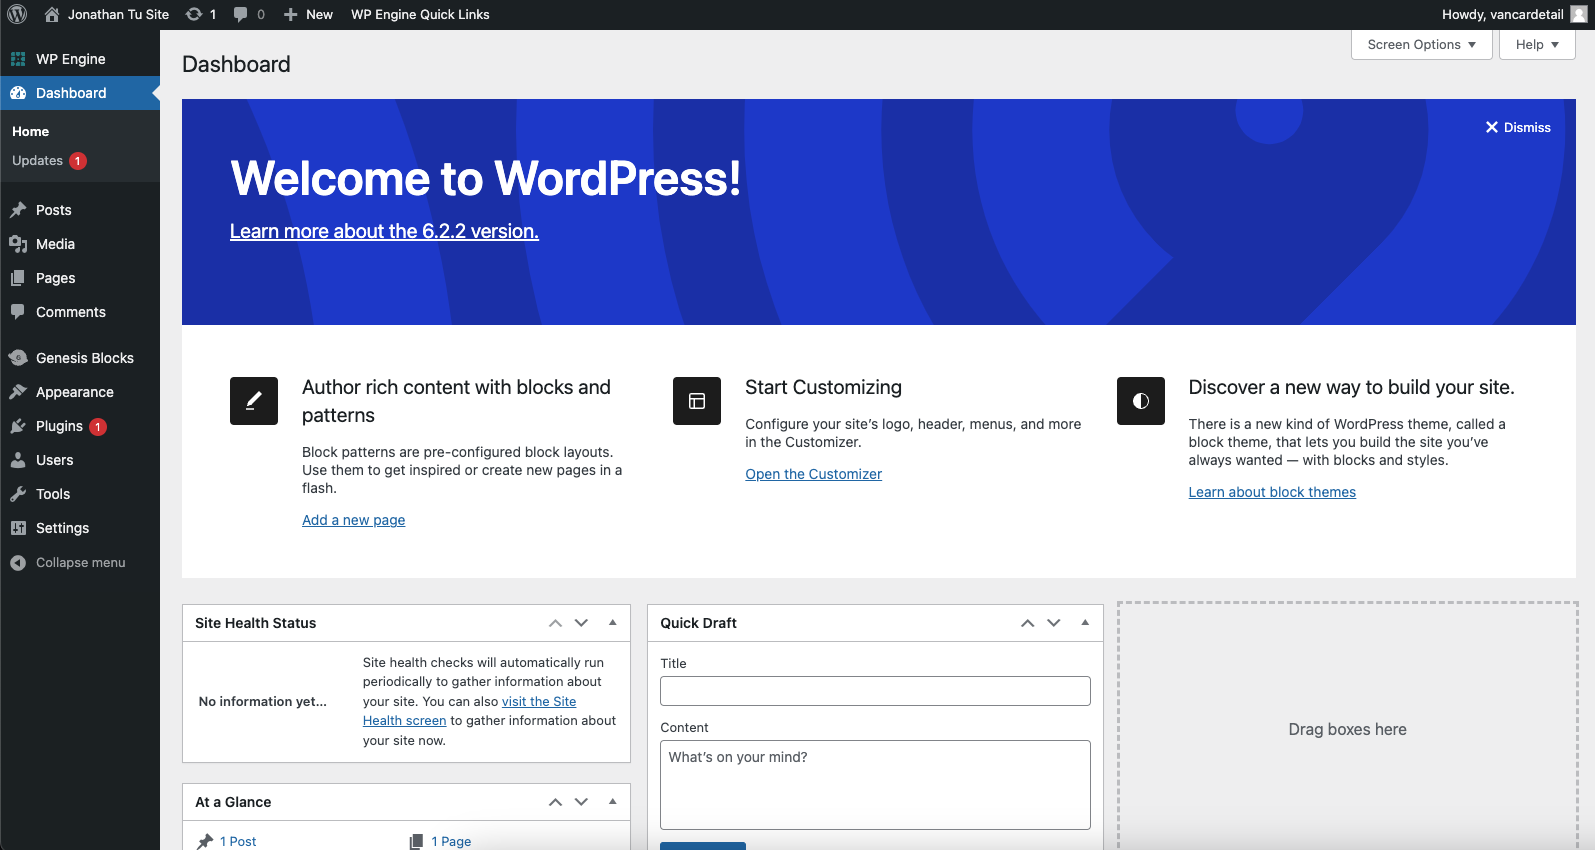
The first 7 things to do on WordPress Dashboard
After you’ve successfully logged into WordPress following the above steps you’ll see this screen:
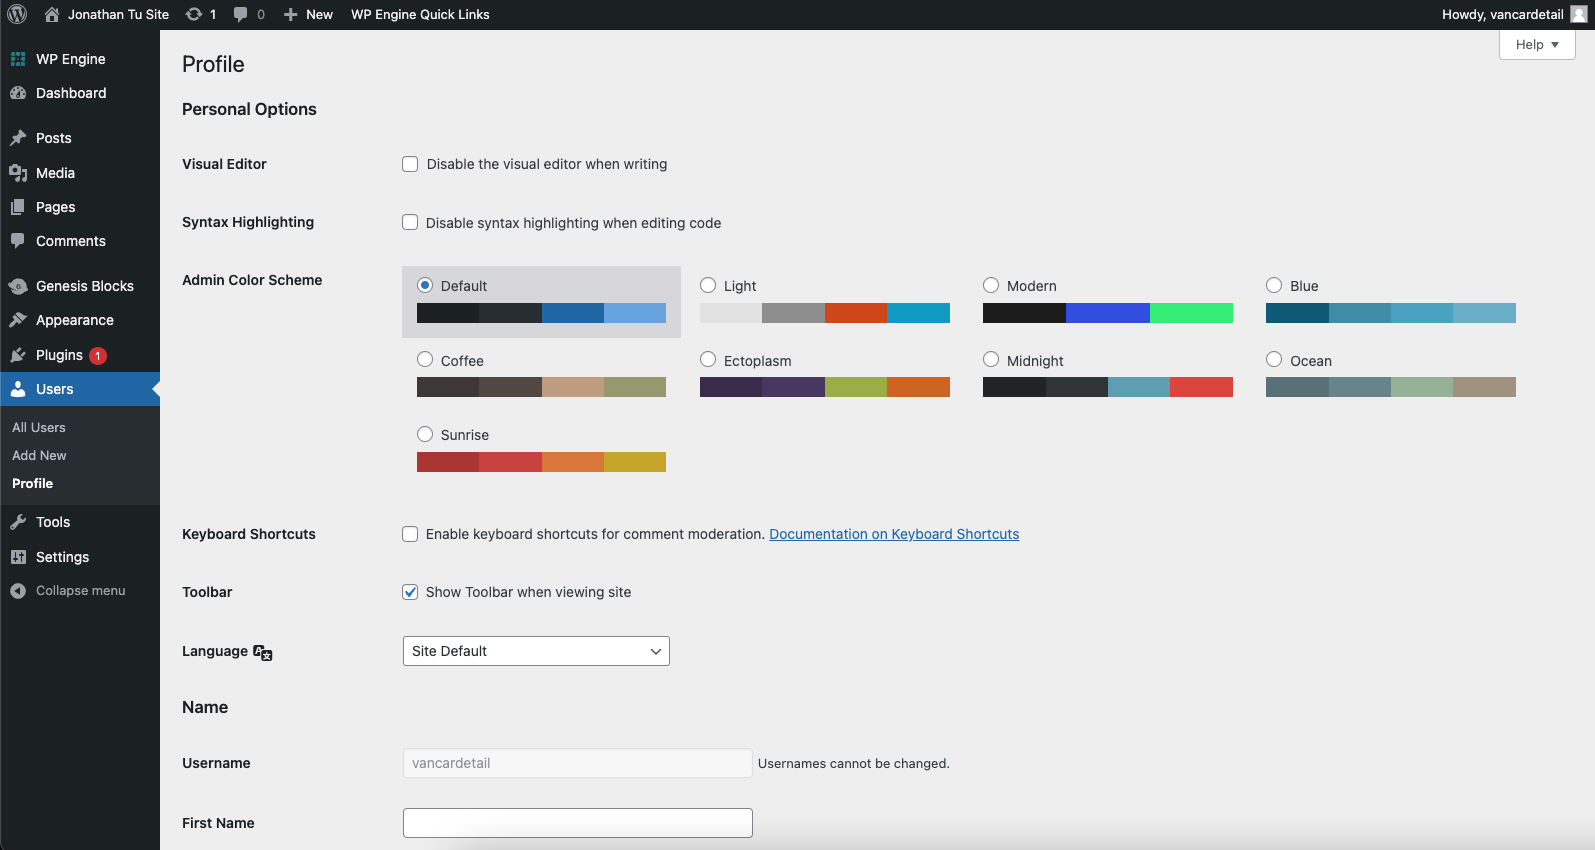
How to change your WordPress Username & Password
1. Top right page, click on “Howdy, (Your Username)”

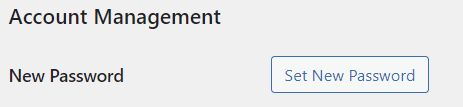
2. Once you reach this page, scroll down and find “Account Management”
3. Click “Set New Password” and enter your own password
4. Then scroll down and click “Update Profile”.
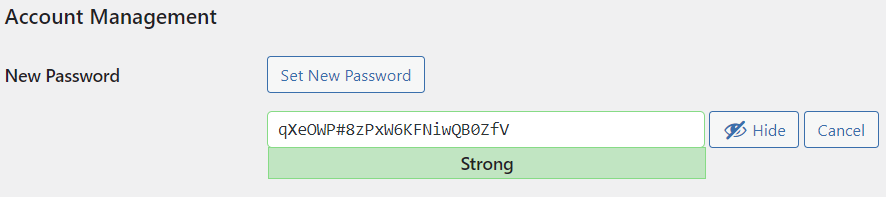
Make sure you remember to click “Update Profile” otherwise your password will not be updated.
How to add New Users
If you hired someone to maintain your website, you can give them access to your website without having to give them your username and password. You just have to create a new user with separate usernames and passwords for them to log in. To do this, look at the black dashboard on the left and hover over “Users” and click “Add New”.
There are 5 portions you would want to fill out:
- Username
- First Name
- Last Name
- Role
1. Fill out everything listed up there.
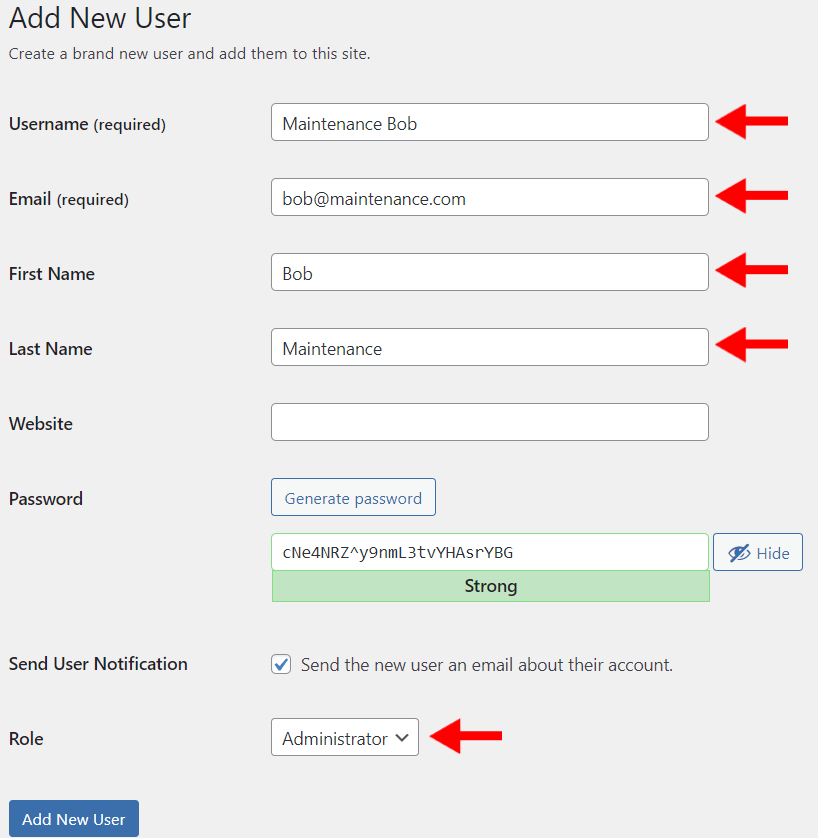
2. Once you have added the new user(s), click “All User” on the black sidebar and you’ll be able to see all the new users you have added. The users will automatically receive an email to reset their password.

How to Install WordPress Plugins
The ability to install plugins easily is one of the reasons WordPress reigns supreme above other website builders. With 60,000+ plugins and counting to choose from, there’s a plugin (or two) out there that’s perfect for you!
Here’s a walkthrough of how to install and update your plugins:
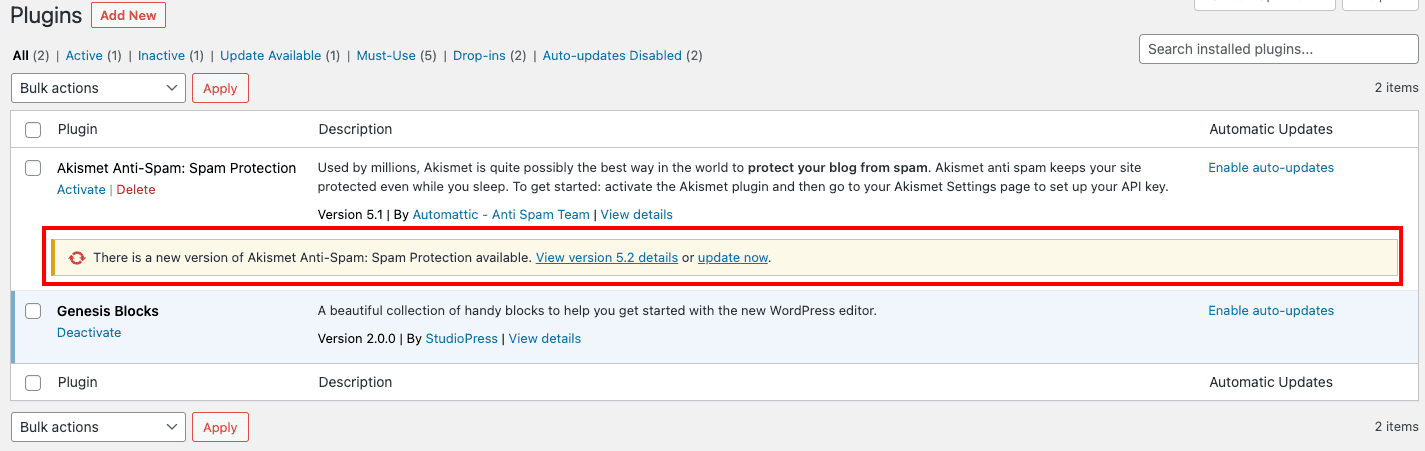
1. Like the other sections, the Plugins tab is located on the left sidebar. Click on “Plugins” to be directed to your “Installed Plugin” screen. WordPress usually has some pre-default plugins pre-installed for you. If you have no need for them, I recommend deactivating and uninstalling them so your site speed won’t be slowed down unnecessarily.
Before we go any further with the guide I would highly suggest for you to install any plugins you wish in your website sandbox. If you don’t have a sandbox up then backup your website in the event the plugin you are trying to install breaks your expensive site. Your website can be recovered but the amount of time it takes will depend on how big your site is and in some instances rebuilding can literally cost you thousands if not millions.
If you are using WP Engine as your hosting provider, you can check out my other blog (Link). If you are using your own provider I would quickly check in with their support team before doing anything else.
2. If you are using a sandbox to test the new plugin or after you have backed up your site then give “Add New” a click to find a plugin you want to install. You should then find yourself in the page below.
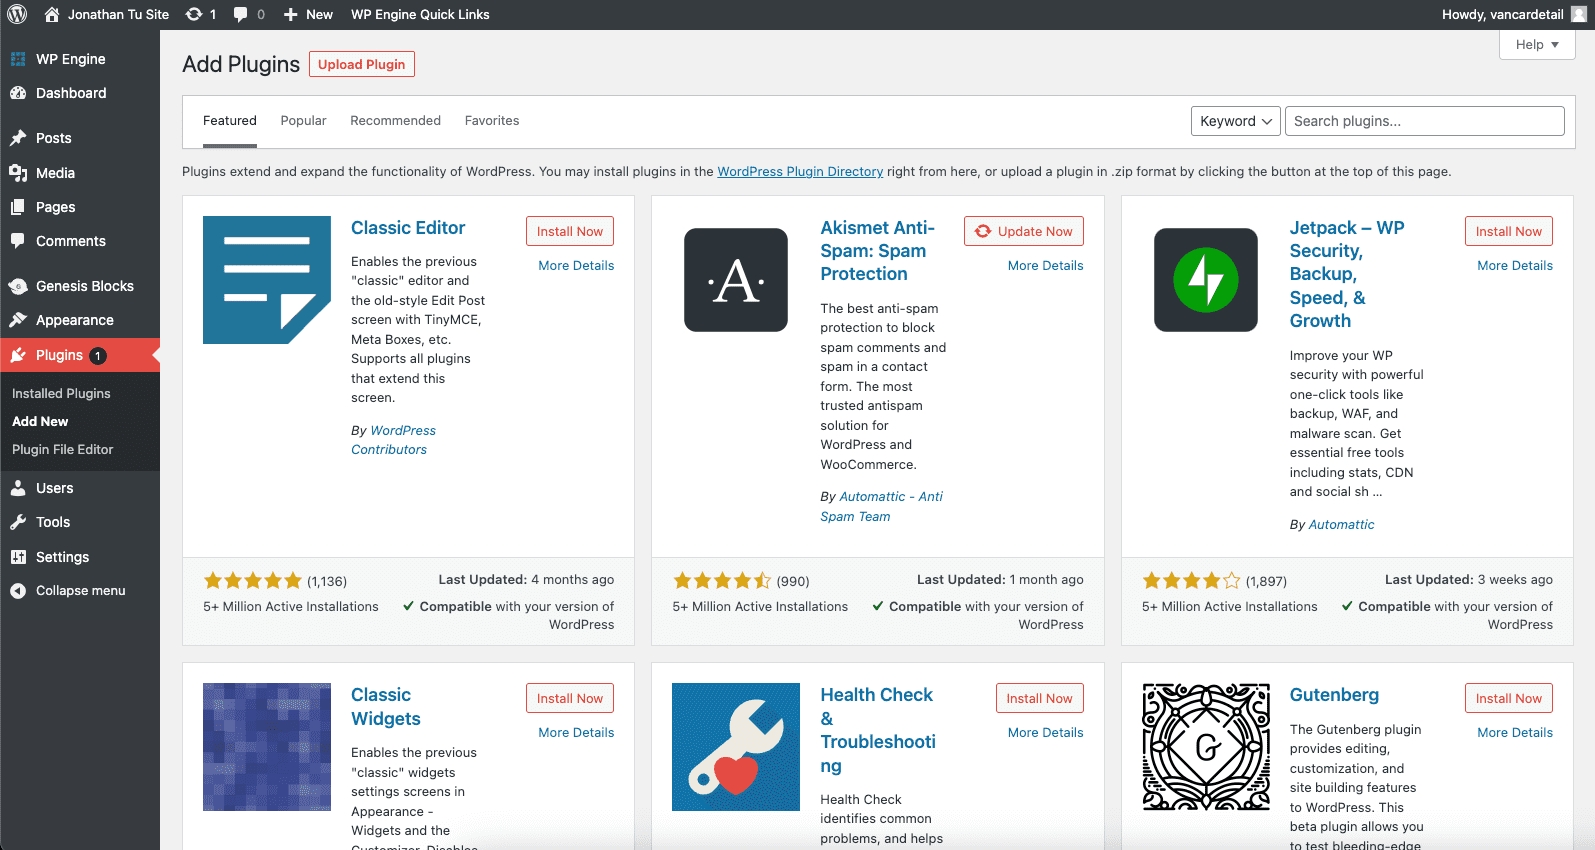
There are three things to note here:
- The Upload Plugin button – this is a blue button located next to the Add Plugins header. You’ll use this to upload either a purchased plugin that you’ve downloaded, or a WordPress-compatible plugin that you’ve developed.
- Feature Navigator – Browse community-loved plugins
- Search Plugins – Located in the top right, use it to find specific plugins
How to Remove WordPress Plugins
1. Back in the “Installed Plugins” subsection you can easily deactivate or remove plugins you no longer need. Find the plugin you want to deactivate and right below its name you’ll see “Deactivate”.
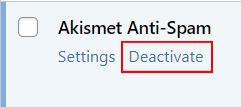
2. Click “Deactivate” if you want to get rid of your plugin.
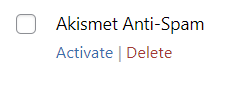
If you want to take it one step further, after you deactivate it you can remove it too:
After you have deactivated you’ll see Activate or Delete — hit “delete”.
How to Update WordPress Plugins
There are two methods to updating plugins.
Method 1
1. Under the plugins tab, click “Installed Plugins” and find the plugins you need to update.
2. Give “update now” a click and your plugin will automatically update itself. Easy right?
Method 2
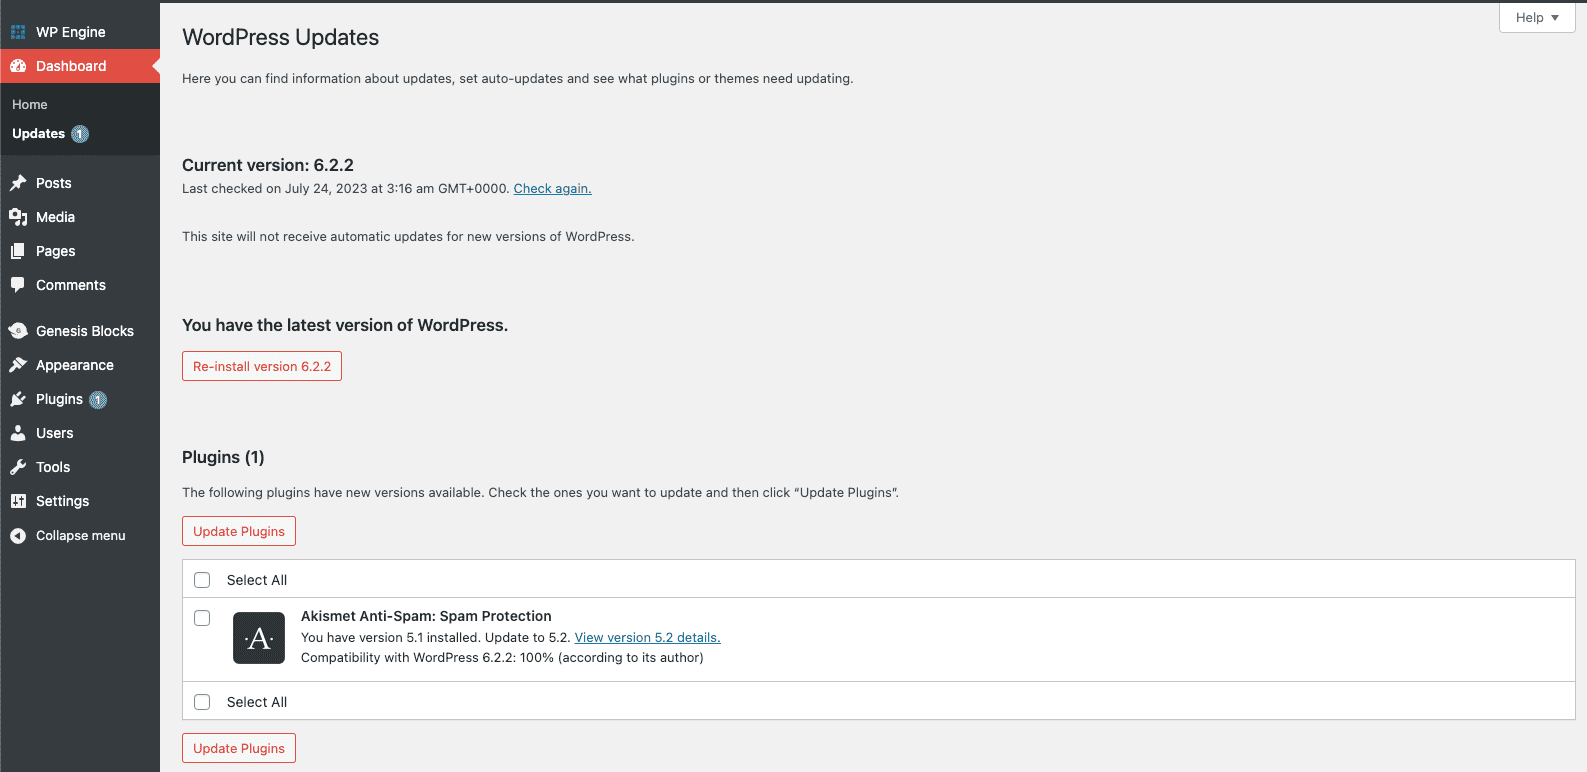
1. Under “Dashboard” on the left hand side, click “Updates” and find the plugins you need to update.
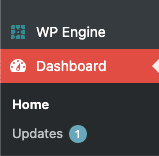
2. Give “Update Plugins” a click and your plugin will automatically update itself. Easy right?
How to Create a Page in WordPress
This section is where you want to create either a website page. Pages are anything that are not part of a blog.
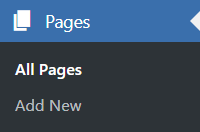
1. Give “Pages” on the left hand side bar a click.
2. After you have reached the “Pages” page you’ll see something like this. Here is how you will maintain your website’s pages.
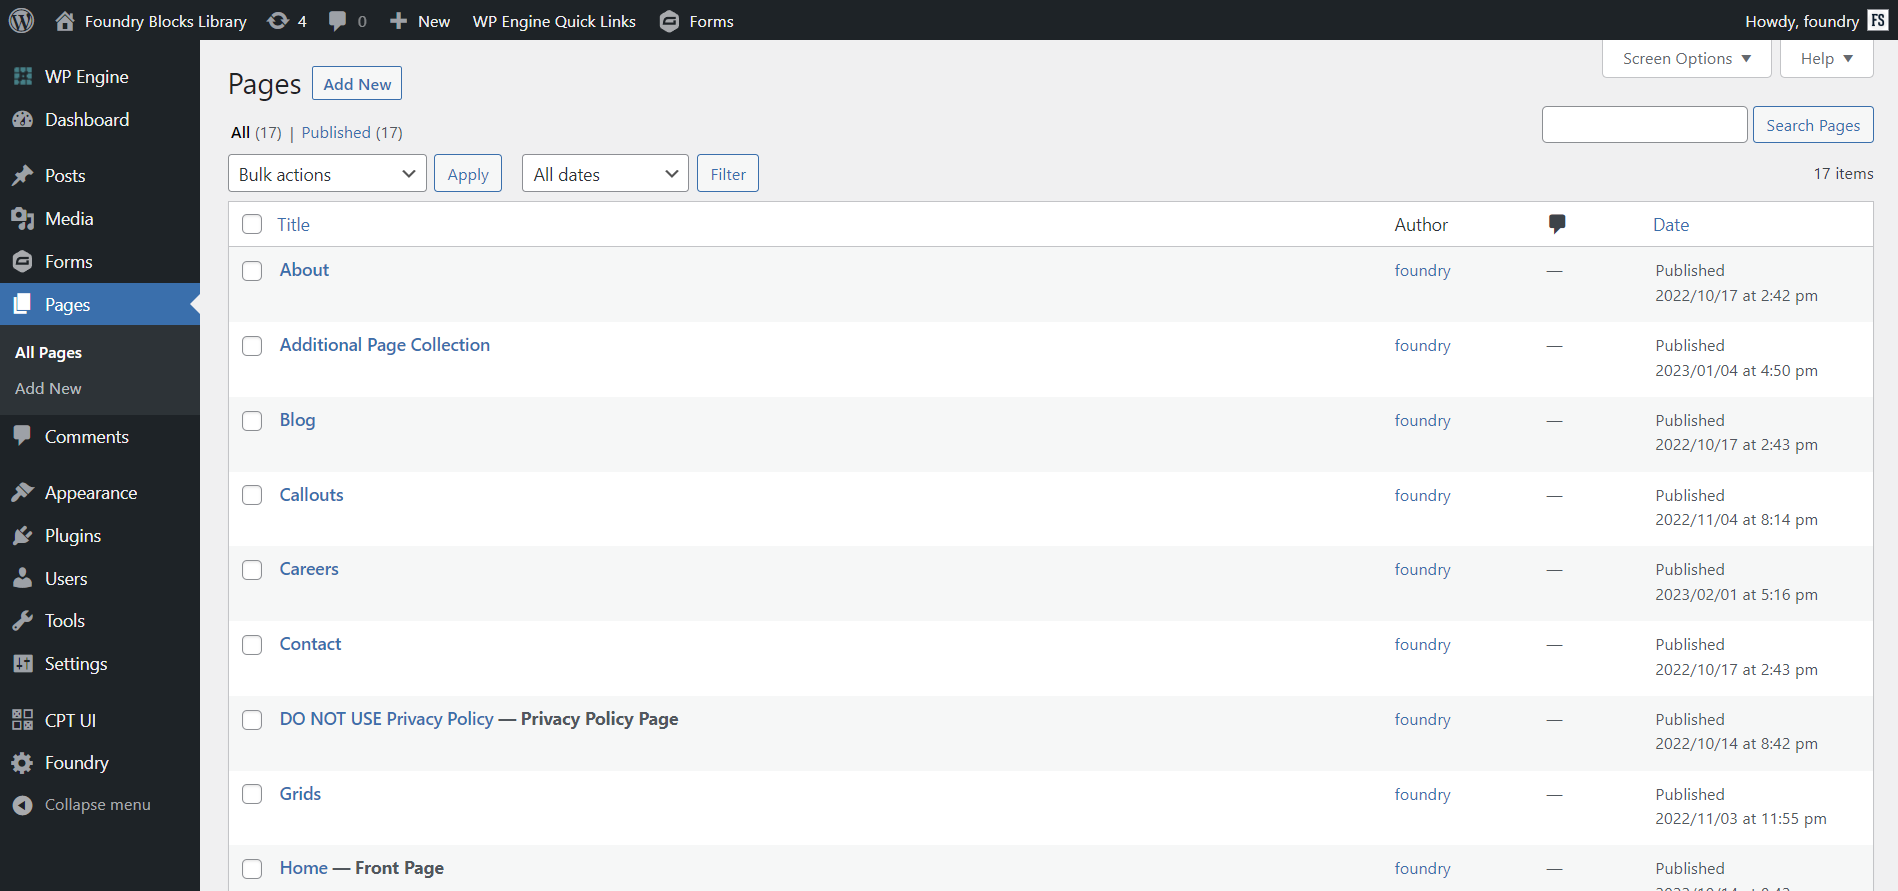
3. By clicking “Add New” at the top, you can add new pages to edit.
If you want to edit a specific page, you can either click on the title of the page or hover over it to select an action to perform.

Blog Posts
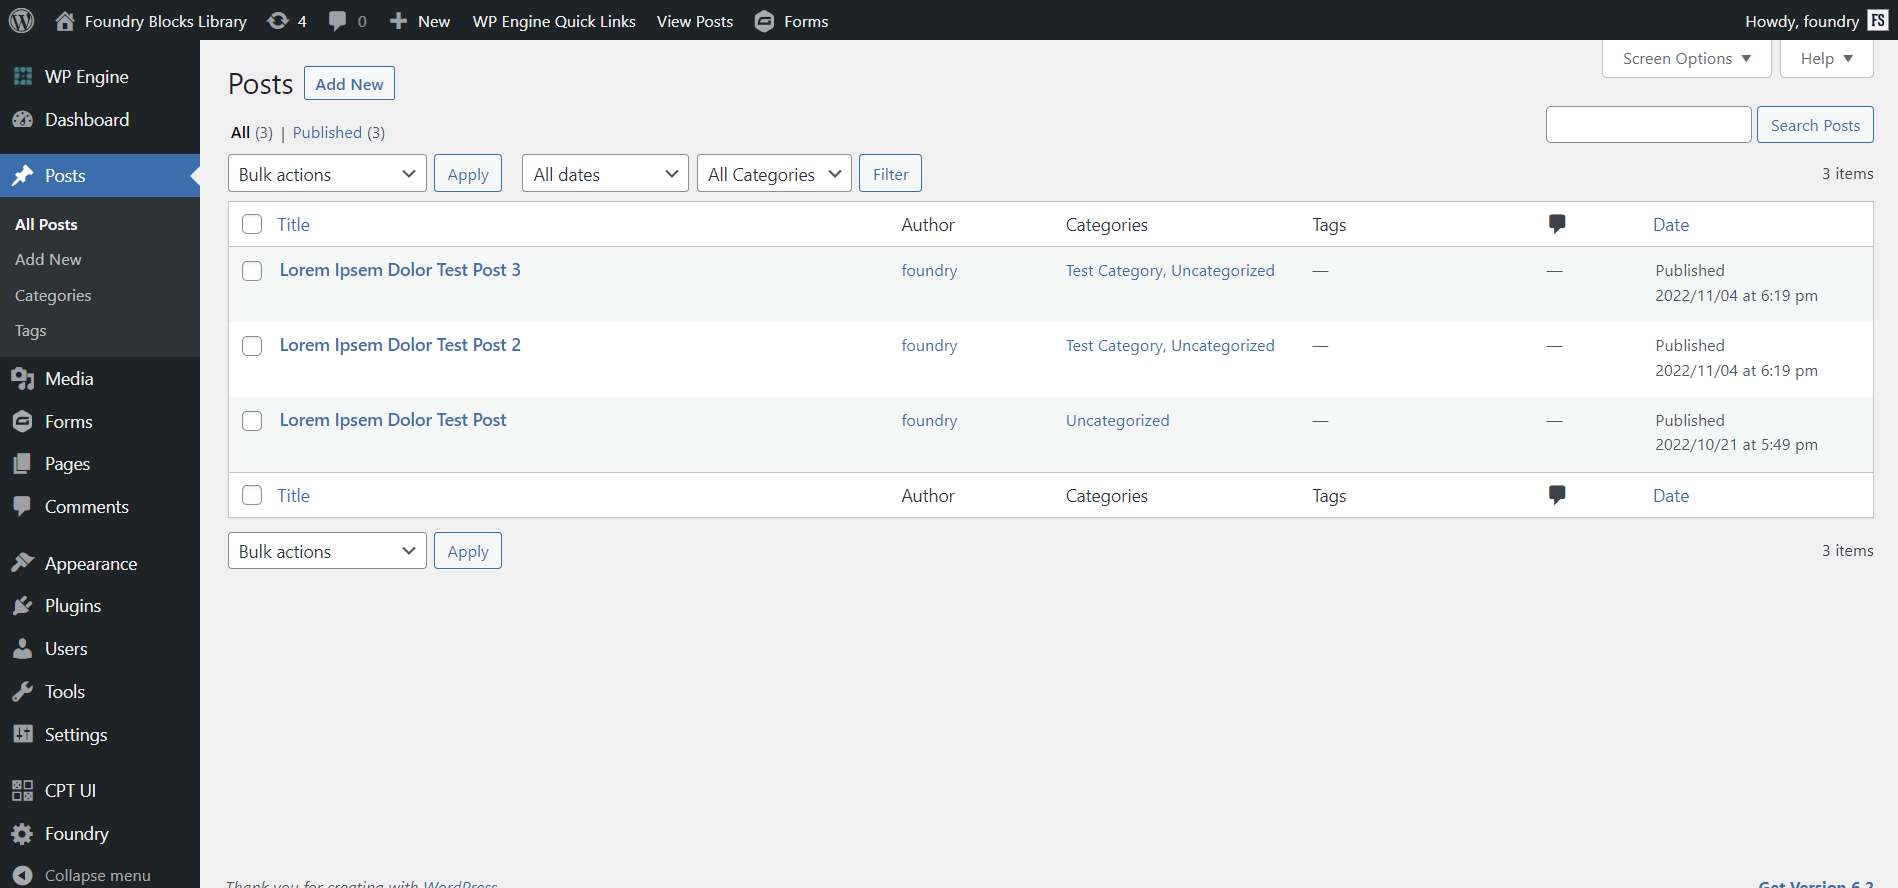
Blog posts will be under the Posts tab.
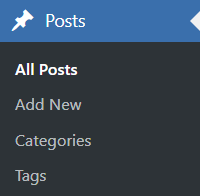
1. You’ll notice the “Posts” page is generally the same as the “Pages” page. Except in the Posts tab you have “Categories” and “Tags”. Those two extra tabs are to set search settings for your blog posts.
How to Edit Pages in WordPress
Pages and Posts have the same style for you to edit pages so click on a pre-existing page or “Add New” to access the page editor in WordPress.
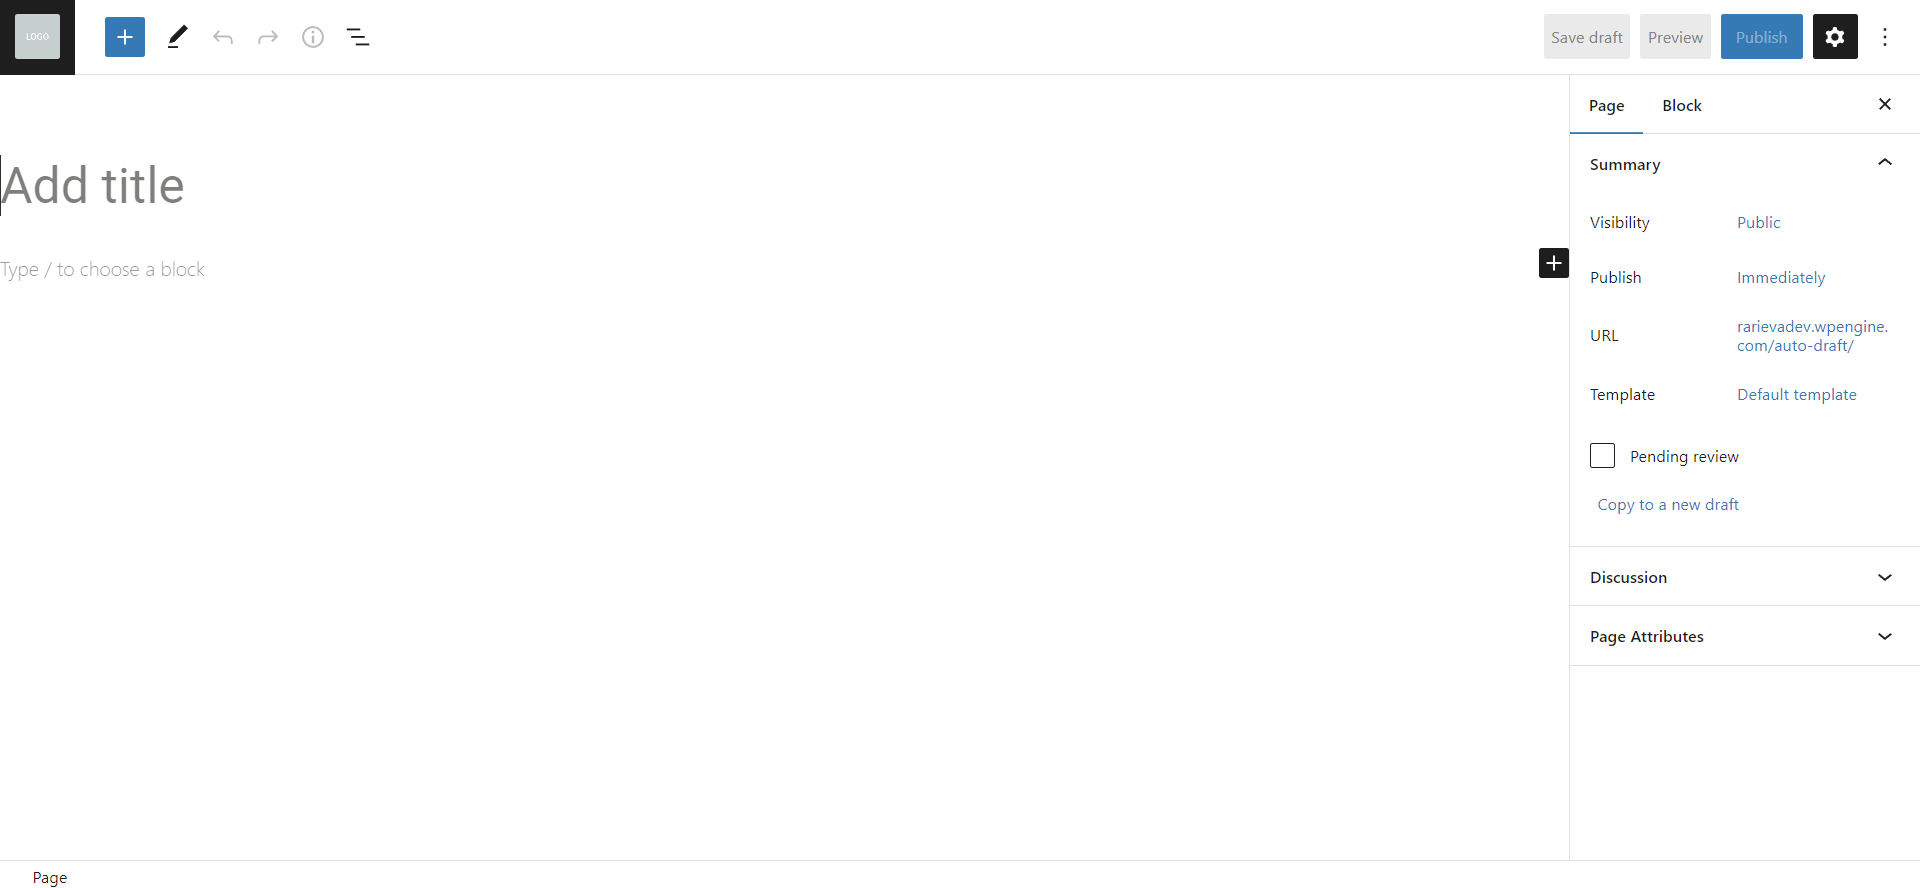
At the top left of the page editor you’ll see:
Starting from the left hand side, you have:
- View Pages – Brings you back to dashboard Pages tab
- Block Inserter – To add new blocks to build your page
- Tools – To switch between Edit or Select
- Undo – Undo actions
- Redo – Redo your undo
- Details – View info on your site once you have blocks in place
- List view – To view blocks that are existing on your site
Top right of the page editor:

Starting from the left hand side, you have:
- Save draft – Saving as draft will not make your page public
- Preview – See how your page will look
- Publish – Make your page open to the public
- Settings – Allows you to edit the page settings or selected block settings
- Options – Opens up a dropdown menu for more settings
On the right hand side, you’ll find
- Visibility – Sets who can view and search for your page
- Publish – Schedule your publish date
- URL – Changing what URL your viewers can search the page
- Template – A global setting for how the page will look when published. Including what header, footer, universal blocks, etc
- Featured Image – What image will show up when searched OR when you feature it on your site
- Discussion – Controls comments, pingbacks, and trackbacks
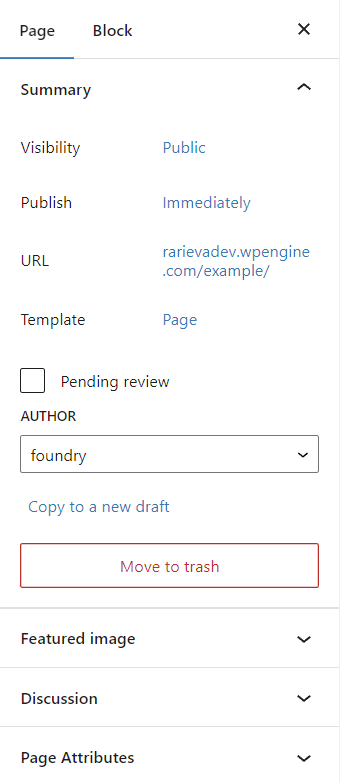
You’ll also find “Block” settings on the right hand side too.
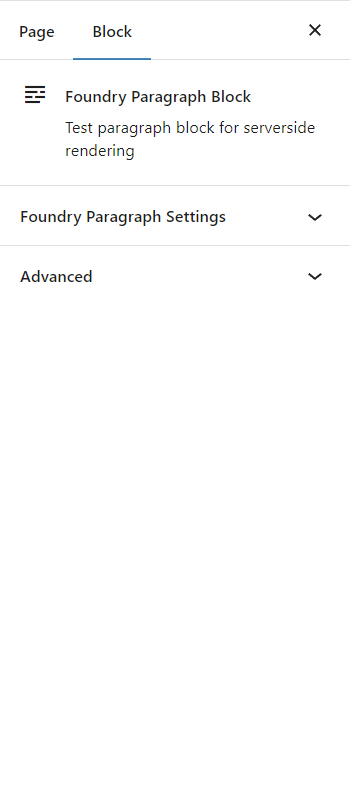
You might not have “Foundry” block settings like I do. That’s because I use Foundry blocks to layout the foundations of my site. If you use Gutenberg blocks then you can also edit it through the “Block” settings. Other site builders might have their own interface to build on though.
Other WordPress Settings
WordPress Settings
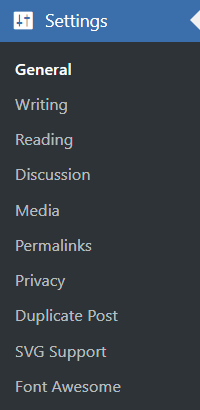
The “Settings” tab can be found on the left sidebar — you might have to scroll to the lower bottom of your page to see it. Here you’ll find a lot of ways to customize your WordPress site. In the “Settings” tab there are close to half a dozen subsections you can click on. There are too many subsections so to keep this guide digestible, I’ll only cover what is used often. The rest you can find in WordPress Dashboard Documentation.
General Settings
Under the general settings subsection you’ll find:
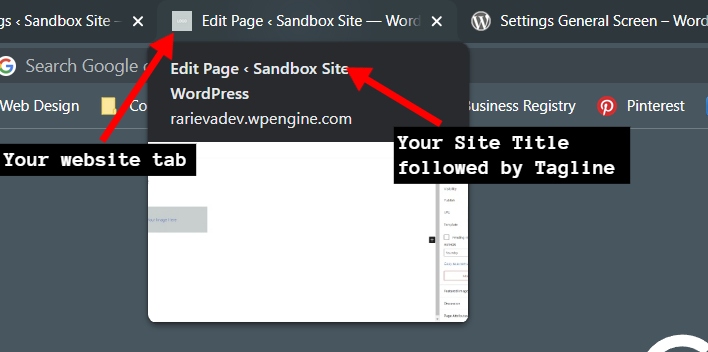
- Site Title – The name of your site (or blog). Note: this name also shows up when you hover over your website tab in the browser you are using.
- Tagline – A short description of what your site is about. Note: same as Site Title, this shows up when you hover over your website tab.
- WordPress Address (URL) – Typically you wouldn’t be changing this unless you are a developer. More information can be found in the WordPress Dashboard Documentation.
- Site Address (URL) – The URL everyone will type into their browser to find you.
Reading
Under the reading subsection:
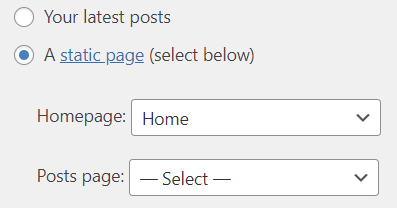
- Homepage Displays – Where you can set how your homepage will look. If you have built a homepage yourself then choose “A static page (select below)”
- Blog pages show at most – Set how many blog posts you’d like to show at once.
- Search Engine Visibility – In order for Google to index your site, make sure the Search Engine Visibility is turned on once your site is properly optimized.

Discussion
Discussion subsection is mostly for a blog dominant website. In here you’ll find:
- Default post settings
- Other comment settings
- Avatars
Media
The media subsection allows you to change default dimensions of images you insert into your site.
Permalink
Permalink subsection is rather important so make sure you visit it when you first create your WordPress environment.
- Permalink structure – Select how you would like to display your URL. (I advise you to choose Post Name option so you can customize your URL for SEO purposes)
Privacy
This subsection will help you create a privacy page as some countries require all websites to have one.
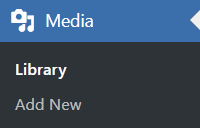
Media
Images are a big part of websites, so it’s important to know how to upload different kinds of media files. So same procedure as always, look to the left hand side bar and find the tab “Media”.
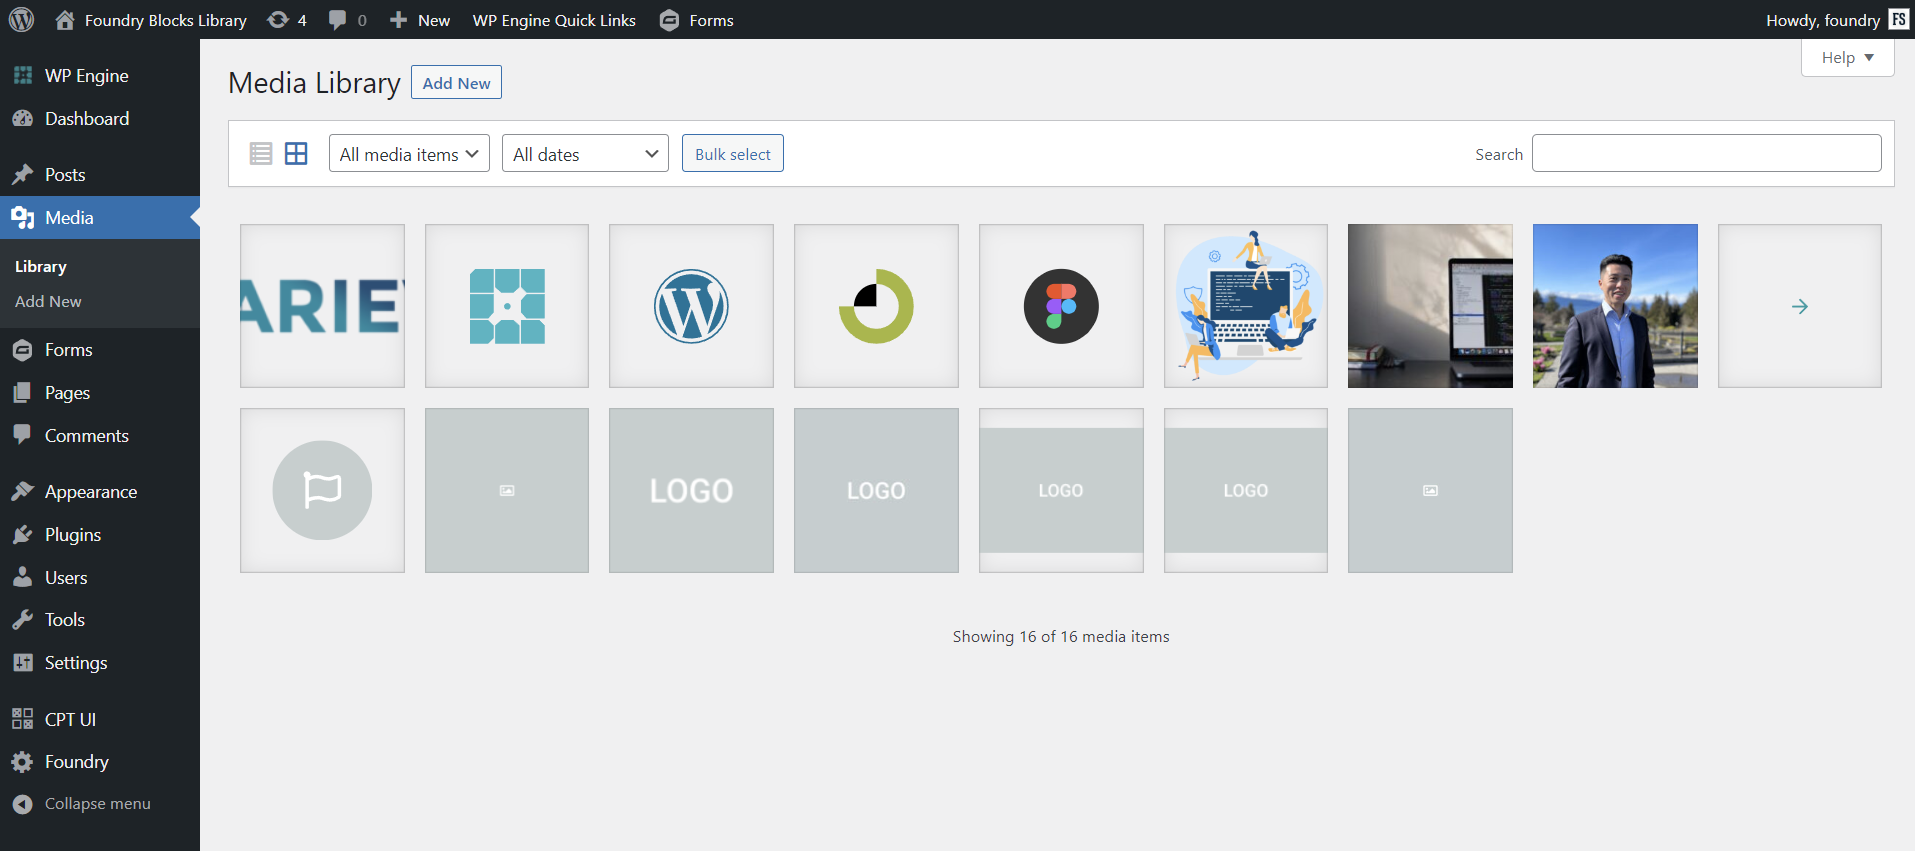
Give “Library” a click so you can see what existing images are on file. Everything from .png, .jpg, .heic, .jif. WordPress also allows .svg files but you do need to install a plugin (Same steps as the plugin paragraph). I use SVG Support for all of the sites I build.
There will also be times when you upload icon images and only to find out they are different px sizes when you insert it into your website and they present in different sizes. So what I do is I go to this Image Editor, upload the image I’m going to be using through the Resize Image tab.
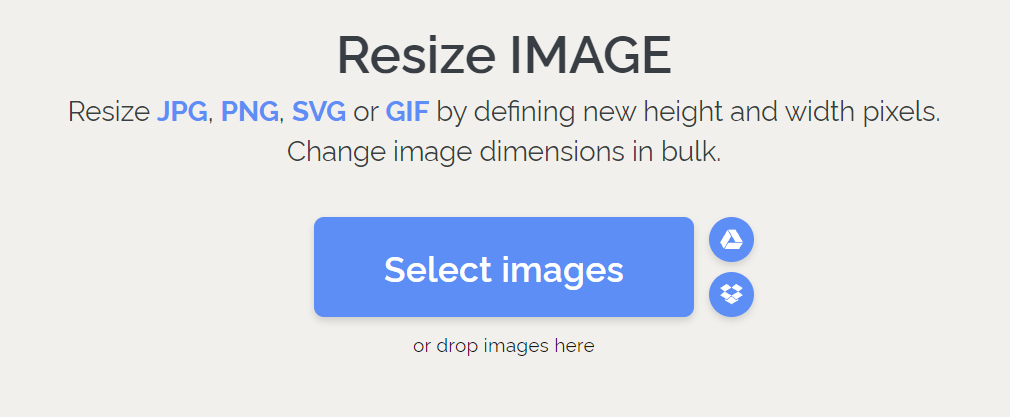
The reason why I only mentioned .svg files is because SVG files don’t distort or lose its quality when you mess with it. You can resize .jpg or .png but you’ll find that most of the time they will lose its clarity.
Appearance
The Appearance tab allows you to upload a theme or access the site editor. If you’re not using Foundry as your website builder then most likely you’ll need to upload a theme in order to build your site.
Theme
WordPress has a default theme installed every time you create a new environment to use. But if you have found one that you like, installing a new one isn’t a hard task to do.

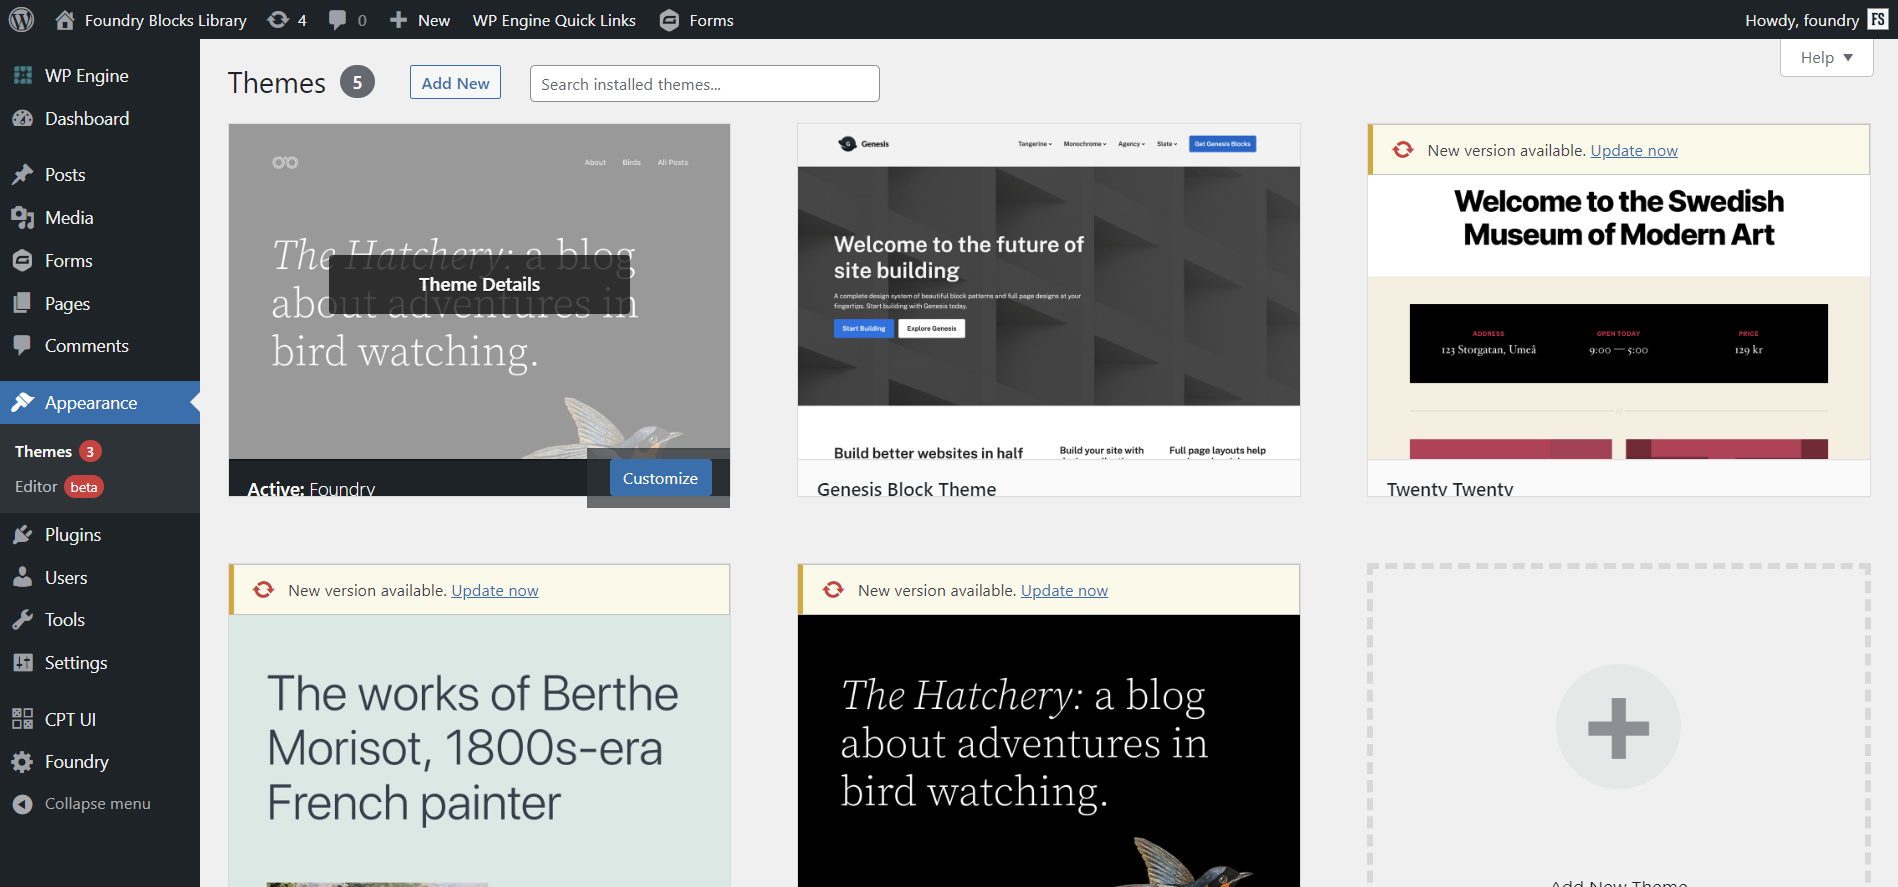
Near the top of the page you can click on “Search installed themes…” to see if the theme you want is already installed. If you can’t find it then it’s not pre-installed for you. In that case give “Add New” a click.

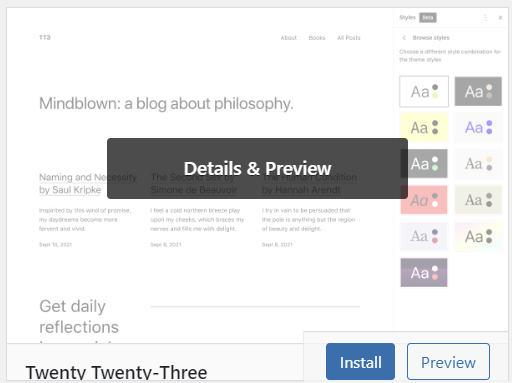
Then you’ll be redirected into a page similar to before, but here you can find the theme you like or browse what is available. Find the one that you like and once you’re ready to install, hover over the theme you like and click “install”.
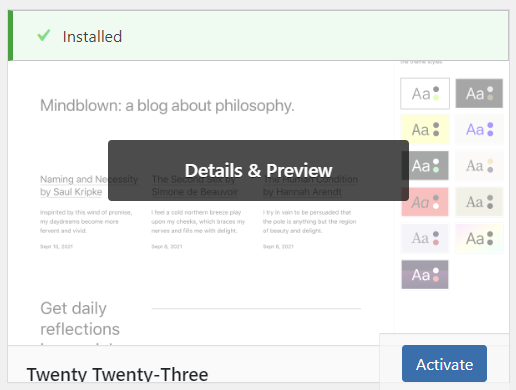
After your theme has been installed, you can give “Activate” a click to begin using it.
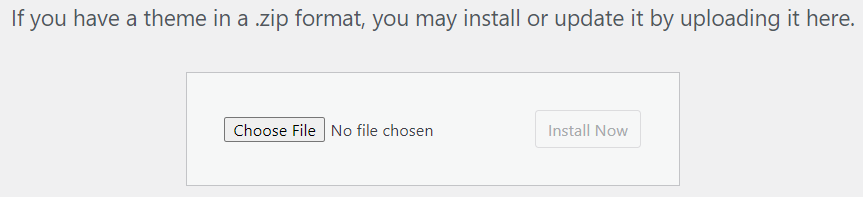
Now the steps I have shown you are for free themes. If you have a theme you have already paid for or had a developer make for you. You can click “Upload Theme” and click “Choose File”.
Now the steps I have shown you are for typically for free themes. If you have a theme you have already paid for or had a developer make for you. You can click “Upload Theme” and click “Choose File”.
Site Editor
Note: This portion is only for clients of mine who have Foundry on their site. Otherwise editing the header and footer will depend on what tool you are using for site building.
At this point you might be wondering “how in the scoobily doobily do I edit the header and footer, and maybe even the 404 Page?” Under the same tab, “Appearance”, give “Editor” a click. You’ll be brought into a page much like a normal page editor with some minor differences.
There’s pretty much only two key differences on the site editor.
- The top left site logo will lead to a sidebar to edit templates and template parts.

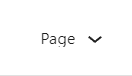
- In the middle of the page, there is a “Page” dropdown toggle you can click on.
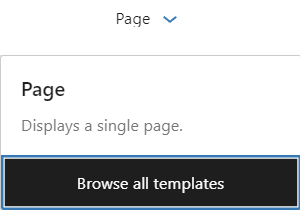
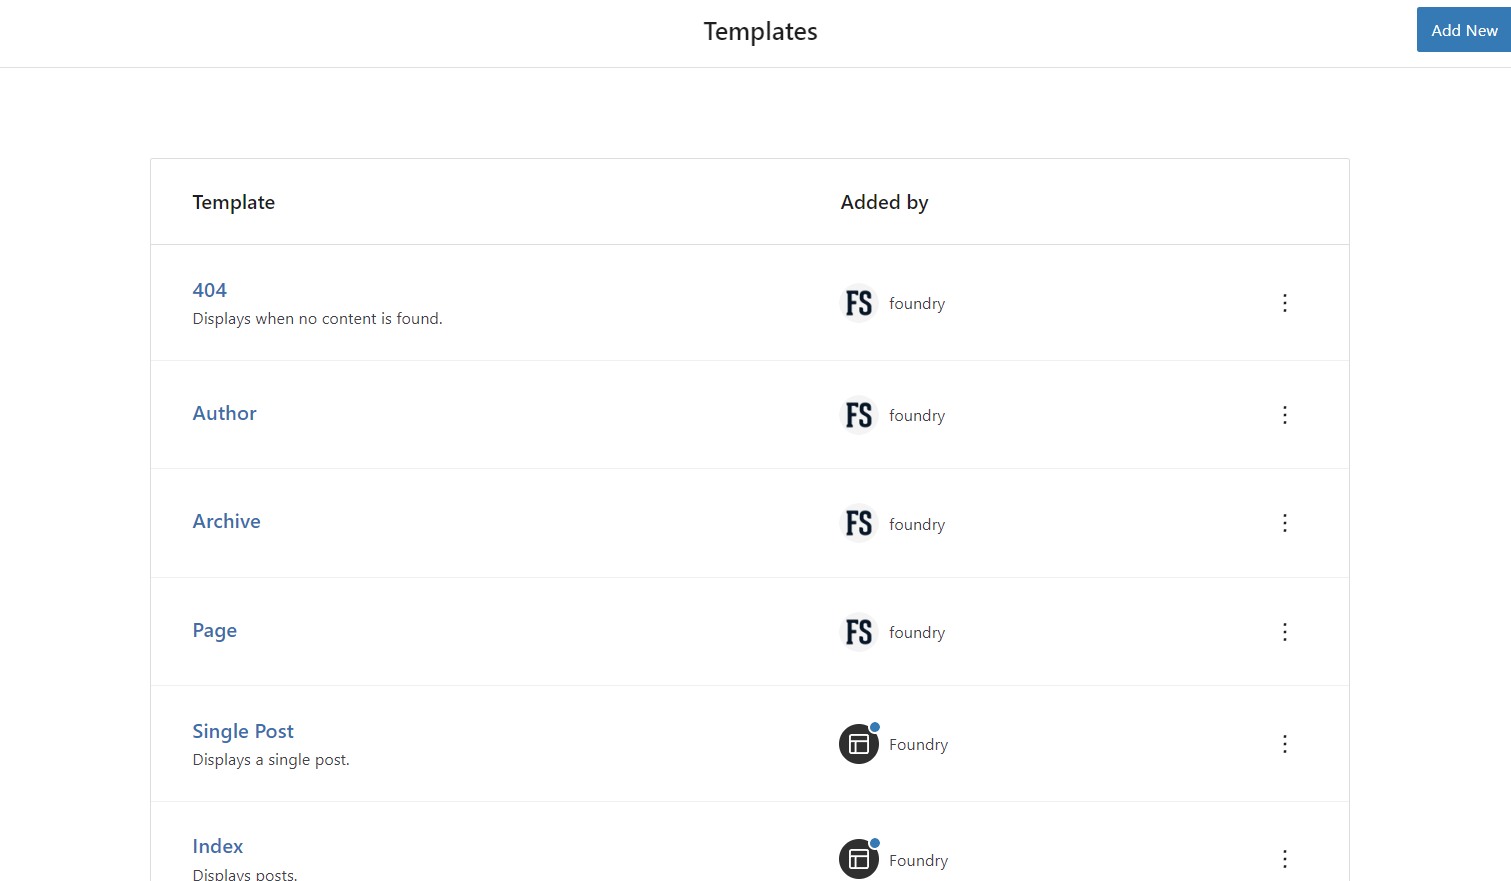
If you want to edit your 404 page, search, or archive templates. Click on “Templates”.
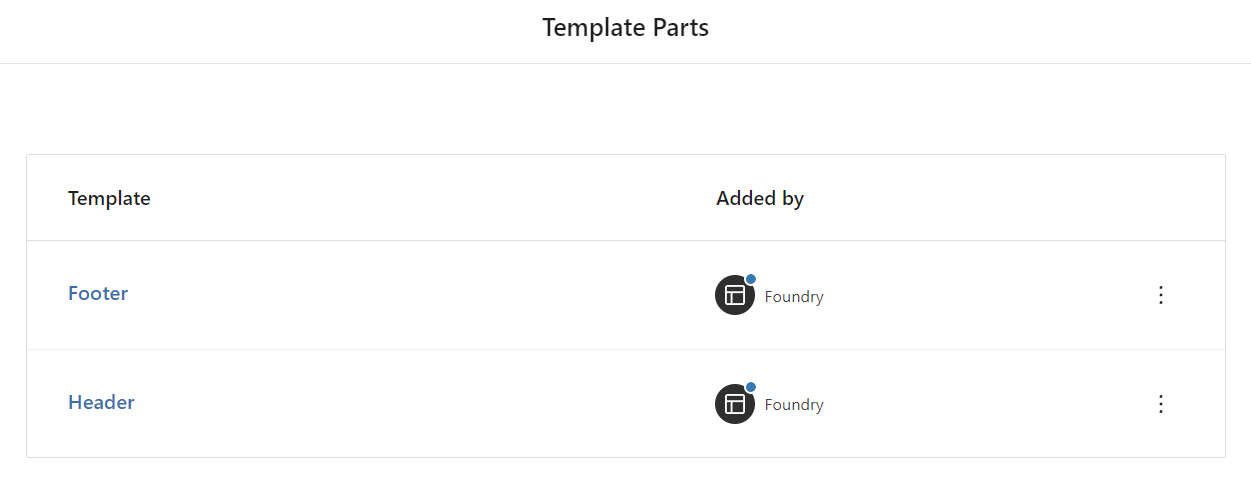
For Header & Footer, click on “Template Parts”
This guide should give you general knowledge on how to set up your WordPress environment. If you’d like to touch up your knowledge on the world of websites, feel free to read my other blog posts below